
Open Google Chrome on your computer or any other Internet Browser
Type https://go.cynapto.com/get_tv in the address bar and press Enter button on your keyboard. A TeamViewer_Host.exe file will start downloading.
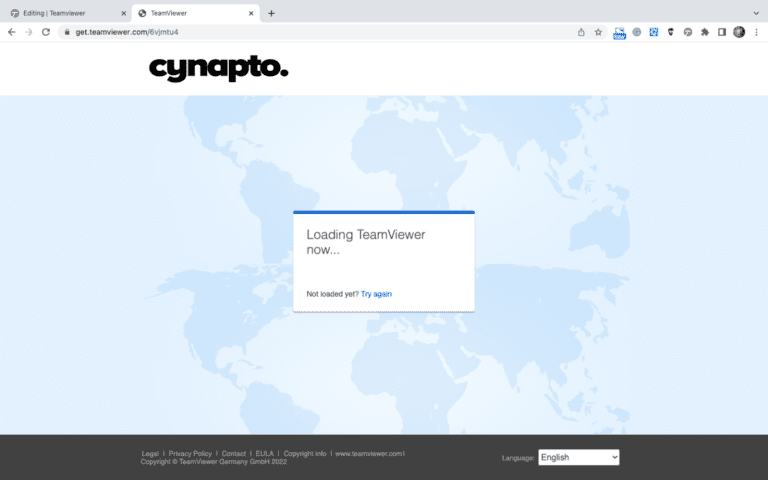
Once the TeamViewer_Host.exe file is downloaded, click on the file to start the installation.
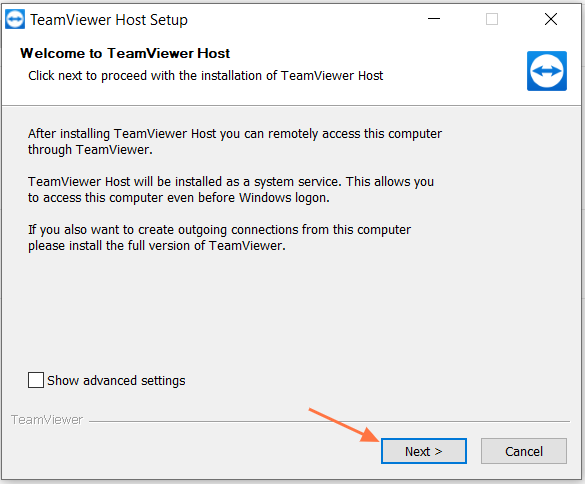
On the Welcome to TeamViewer Host Setup Screen, click on the Next button at the bottom.
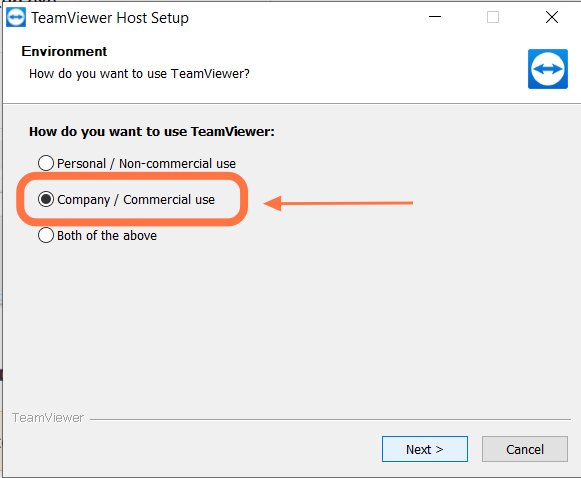
Select the option Company / Commercial use option under How do you want to use TeamViewer:
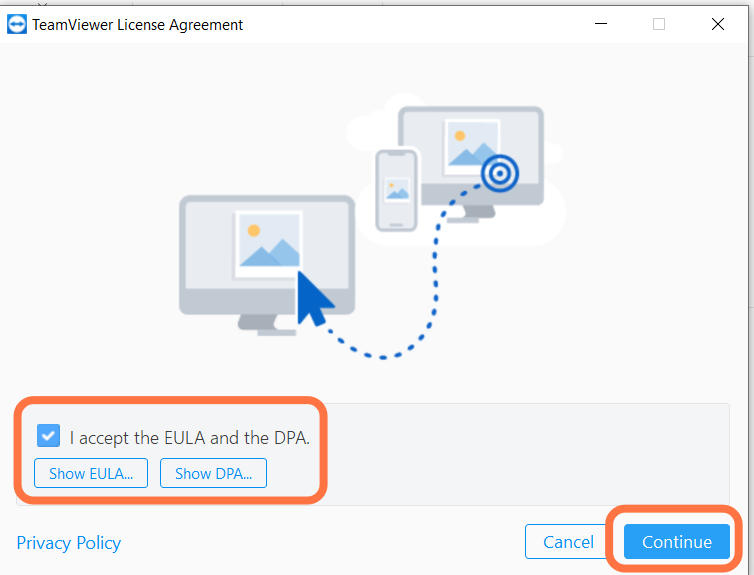
Click on the I accept the EULA and the DPA checkbox then click on the Continue button.
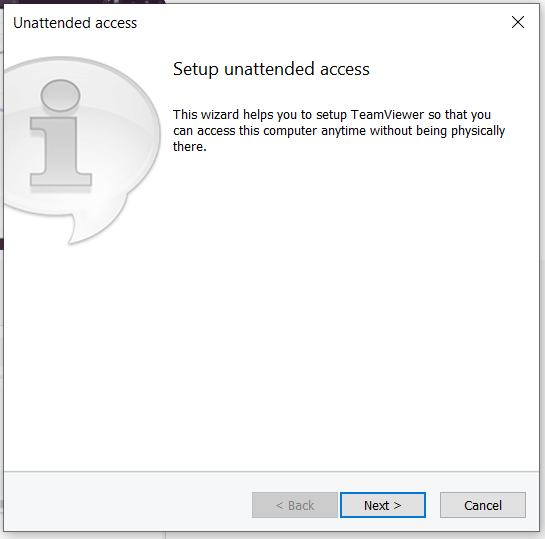
Click on the Next button to setup unattended access
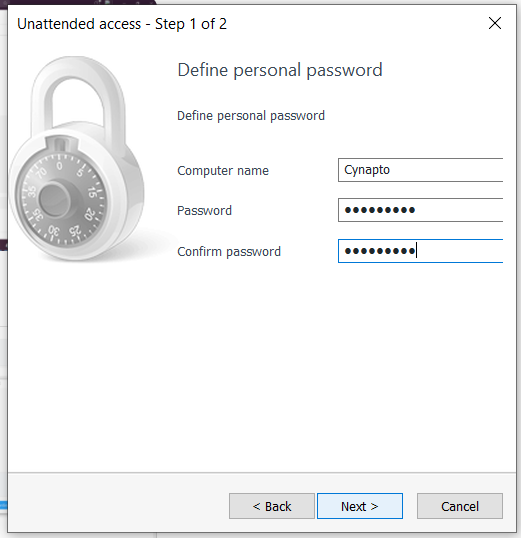
Enter the password Ctpl@1237 and enter the same in the Confirm password field then click Next
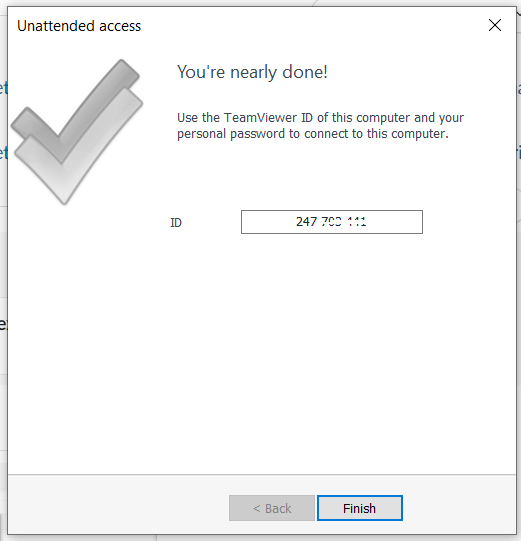
Click on the Finish button to complete the installation
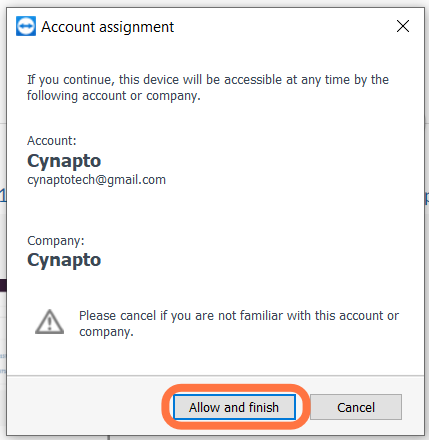
Click on Allow and finish button to assign the account with Cynapto Account. That’s it!
| Cookie | Duration | Description |
|---|---|---|
| cookielawinfo-checkbox-analytics | 11 months | This cookie is set by GDPR Cookie Consent plugin. The cookie is used to store the user consent for the cookies in the category "Analytics". |
| cookielawinfo-checkbox-functional | 11 months | The cookie is set by GDPR cookie consent to record the user consent for the cookies in the category "Functional". |
| cookielawinfo-checkbox-necessary | 11 months | This cookie is set by GDPR Cookie Consent plugin. The cookies is used to store the user consent for the cookies in the category "Necessary". |
| cookielawinfo-checkbox-others | 11 months | This cookie is set by GDPR Cookie Consent plugin. The cookie is used to store the user consent for the cookies in the category "Other. |
| cookielawinfo-checkbox-performance | 11 months | This cookie is set by GDPR Cookie Consent plugin. The cookie is used to store the user consent for the cookies in the category "Performance". |
| viewed_cookie_policy | 11 months | The cookie is set by the GDPR Cookie Consent plugin and is used to store whether or not user has consented to the use of cookies. It does not store any personal data. |